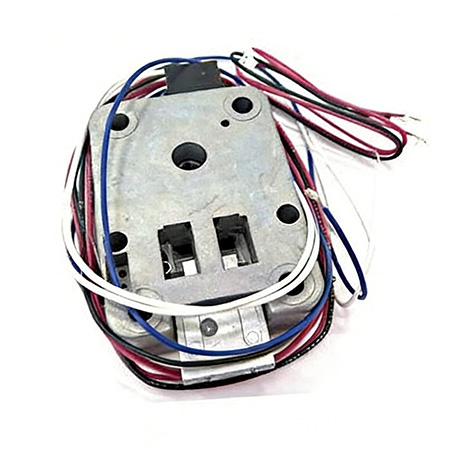
Maintaining the optimal performance of Diebold ATMs is crucial for financial institutions and service providers, as any downtime can result in lost revenue, customer dissatisfaction, and increased operational costs. One of the key components that require regular maintenance and occasional replacement is the Diebold ATM Part 00000751000A, the reject cassette responsible for collecting and storing rejected banknotes. While the 00000751000A is designed for easy installation and replacement, following the correct procedures is essential to ensure its proper functionality and avoid damaging the ATM or the component itself. This article provides a detailed, step-by-step guide to installing and replacing the 00000751000A, along with important safety precautions and troubleshooting tips.
Before beginning any installation or replacement procedure, it is critical to adhere to strict safety precautions to protect both the maintenance personnel and the ATM equipment. First and foremost, always power off the ATM and disconnect it from the power source to avoid electrical shock or damage to the machine’s internal components. Additionally, engage the ATM’s maintenance mode to ensure that no transactions are in progress and that the machine is in a safe state for maintenance. Depending on the ATM model and the environment in which it is installed, it may also be necessary to wear anti-static gloves to prevent static electricity from damaging sensitive electronic components.
Once the safety precautions have been taken, the first step in the replacement process is to remove the old or faulty 00000751000A reject cassette. To do this, start by opening the ATM’s front or rear cabinet door, depending on the model. The location of the cash cassette compartment may vary slightly between different Diebold ATM models, but it is typically located in the lower or middle section of the machine. Once the cash cassette compartment is located, identify the reject cassette—this is usually distinguishable by its smaller size compared to the main cash cassettes and may be labeled with the part number or the words “Reject Bin” or “Reject Cassette.”
Next, locate the release latch or handle on the reject cassette. This latch is designed to secure the cassette in place and prevent it from being accidentally removed during operation. Press the release latch firmly to disengage it, then gently pull the reject cassette outward along the guide rails. It is important to pull the cassette straight out to avoid damaging the guide rails or the cassette itself. If the cassette is full of rejected notes, it may be heavier than usual, so ensure that you have a firm grip to prevent dropping it. Once the cassette is fully removed, you can empty the rejected notes by opening the cassette’s cover, counting the notes (if required), and then closing the cover securely.
With the old cassette removed, the next step is to install the new or cleaned 000000751000A reject cassette. Before installation, inspect the new cassette to ensure that it is free from damage, dirt, or debris. Check that the release latch is functioning properly and that the cassette’s guide rails are clean and free from obstructions. Align the cassette with the guide rails in the designated slot in the cash cassette compartment. Ensure that the cassette is aligned correctly—misalignment can cause the cassette to jam or not seat properly, leading to operational issues.
Once aligned, push the cassette inward firmly along the guide rails until it clicks into place. The click indicates that the release latch has engaged and that the cassette is securely seated. After pushing the cassette into place, gently tug on it to ensure that it is locked in position and does not move. If the cassette moves freely, it is not properly seated, and you should repeat the installation process to ensure a secure fit. Once the cassette is securely installed, close the ATM’s cabinet door.
After installing the new 00000751000A, it is important to verify that it is functioning correctly. Power on the ATM and allow it to go through its self-test or diagnostic mode. This mode will check the status of all components, including the reject cassette, and ensure that it is detected by the ATM’s system. Monitor the ATM’s screen and system logs for any error codes related to the reject bin. If no error codes appear and the self-test is successful, the installation is complete, and the ATM is ready to resume normal operation.
In some cases, you may encounter issues during the installation or replacement process. For example, if the cassette does not seat properly, check for any obstructions in the guide rails or on the cassette itself. If the ATM does not detect the cassette after installation, verify that the cassette is aligned correctly and that the release latch is fully engaged. If the problem persists, consult the ATM’s user manual or contact Diebold Nixdorf’s technical support for assistance.
Regular maintenance of the 00000751000A is also essential to ensure its long-term performance. This includes regularly emptying the cassette of rejected notes, cleaning the guide rails and release latch to prevent dirt and debris from accumulating, and inspecting the cassette for any signs of wear or damage. By following these maintenance practices, you can extend the life of the 00000751000A and ensure that it continues to function reliably.
In summary, the proper installation and replacement of the Diebold ATM Part 00000751000A is a straightforward process that requires adherence to safety precautions and careful attention to detail. By following the step-by-step guide outlined in this article, maintenance personnel can ensure that the reject cassette is installed correctly, functioning properly, and contributing to the optimal performance of Diebold ATMs. Taking the time to perform these procedures correctly will help to reduce downtime, minimize maintenance costs, and ensure a positive user experience for ATM customers.